

Sheet 02 / Assembly and sections
How It Works
A window installation method that embeds flashing into the existing opening before a fin-less replacement window goes in, without removing the cladding.
Application / Step by step
Ten stages, one window.
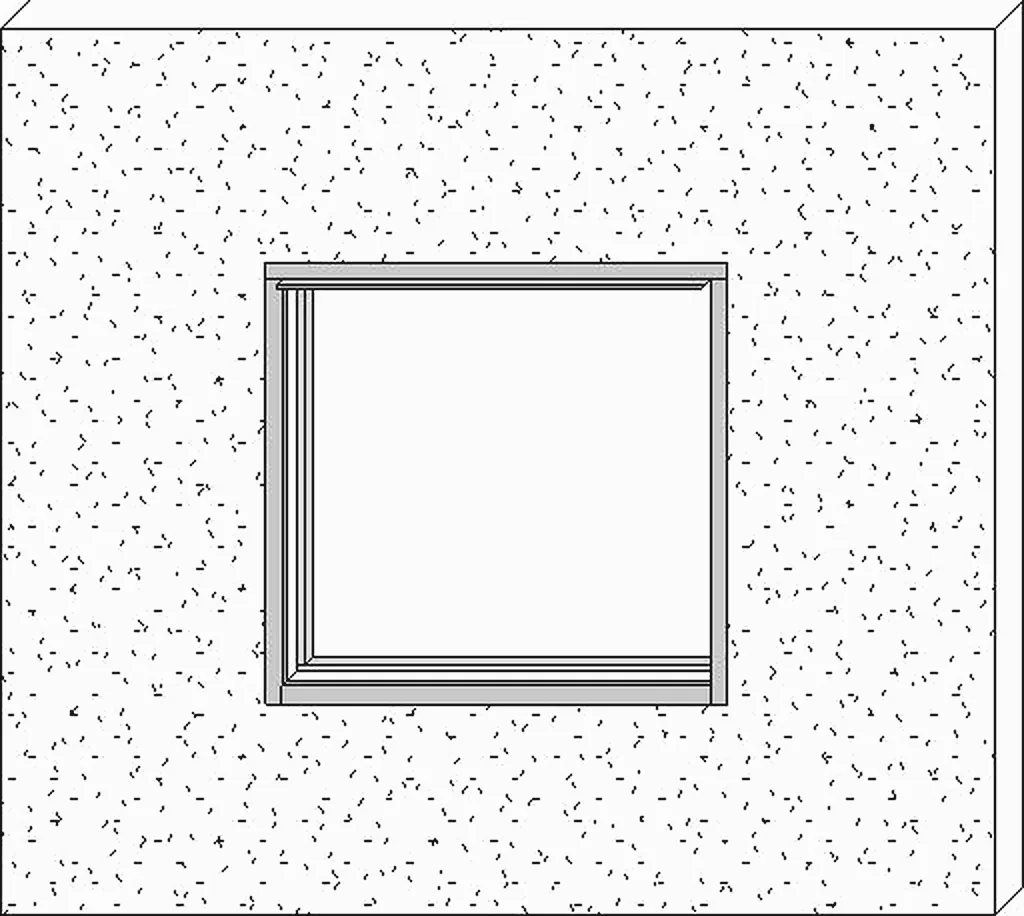
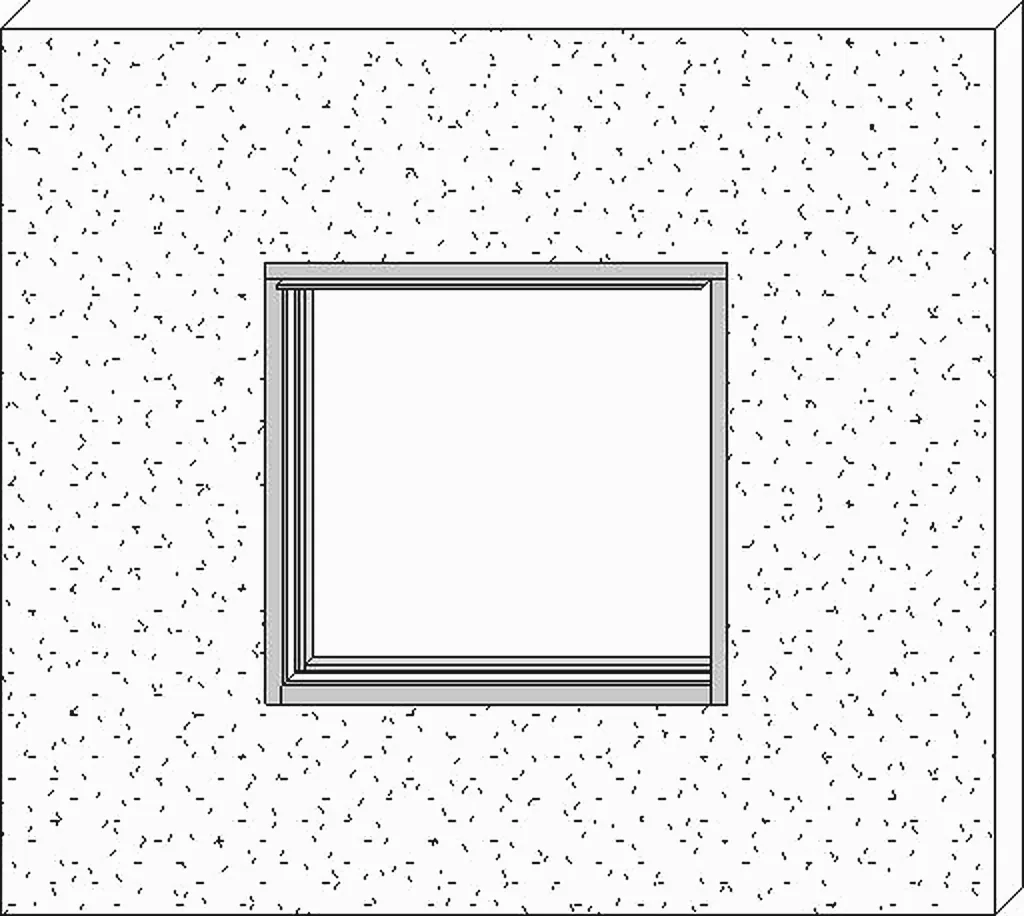
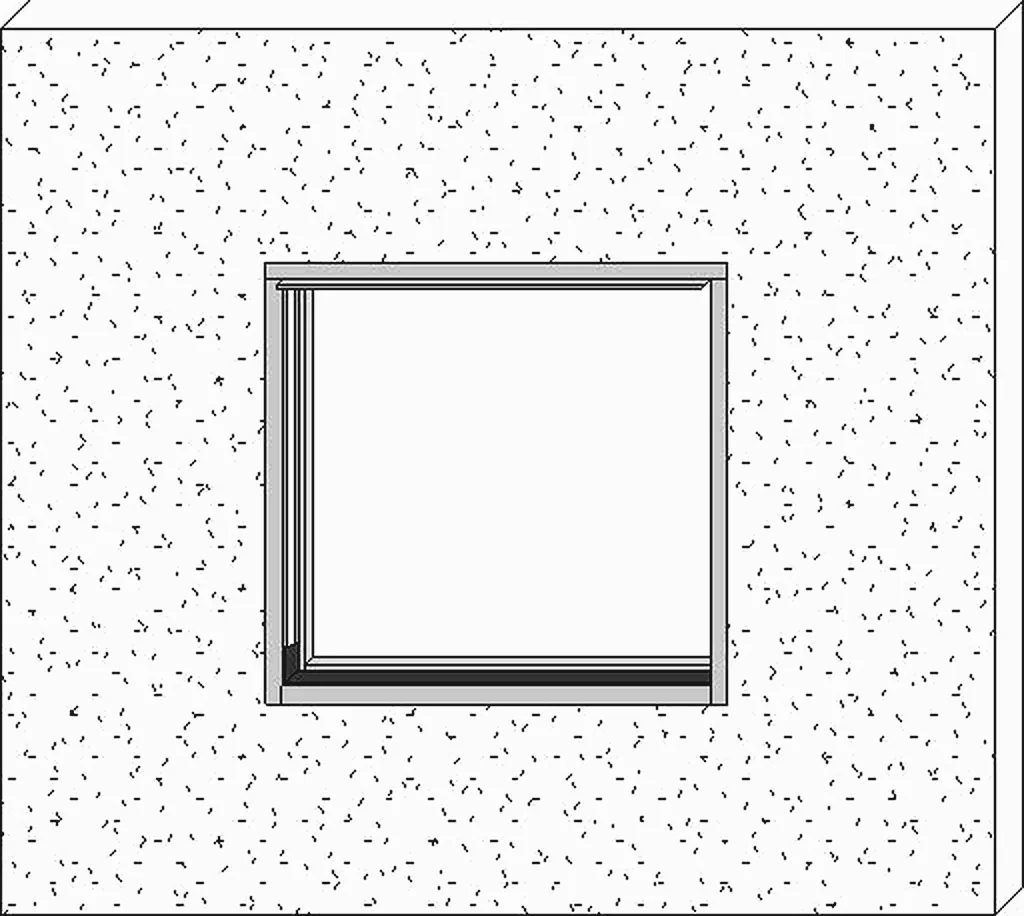
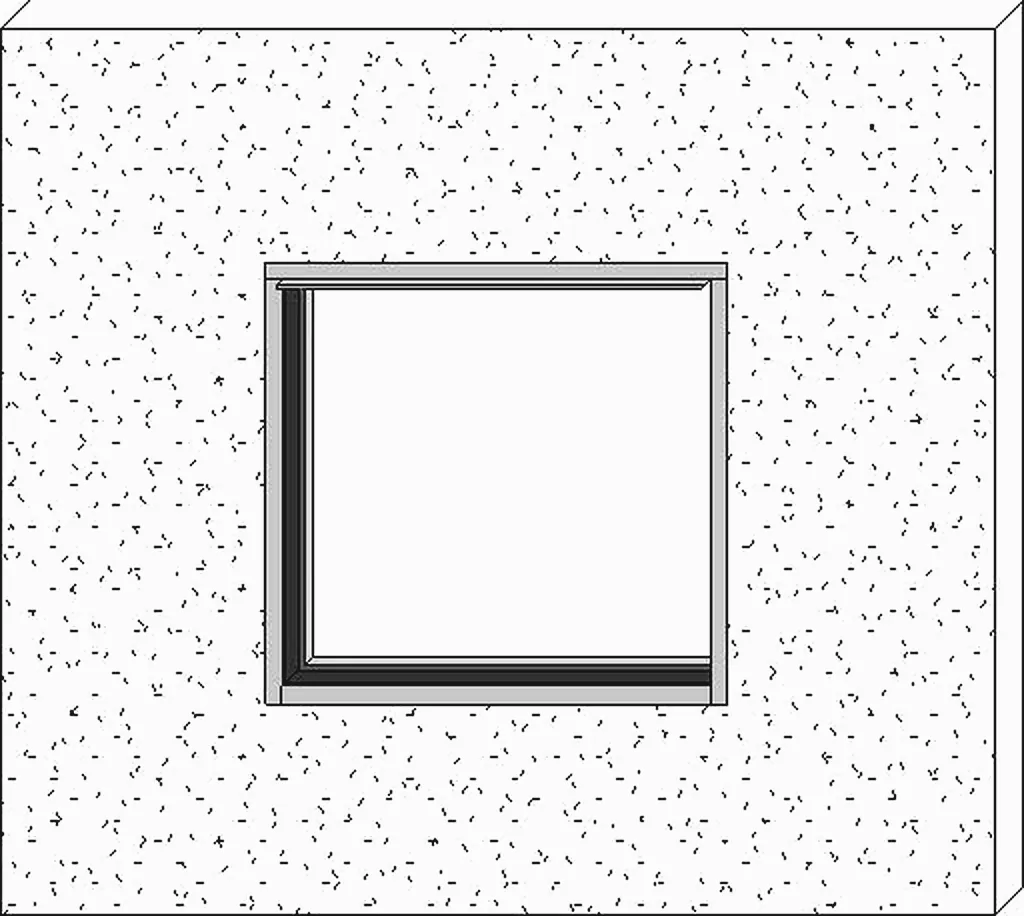
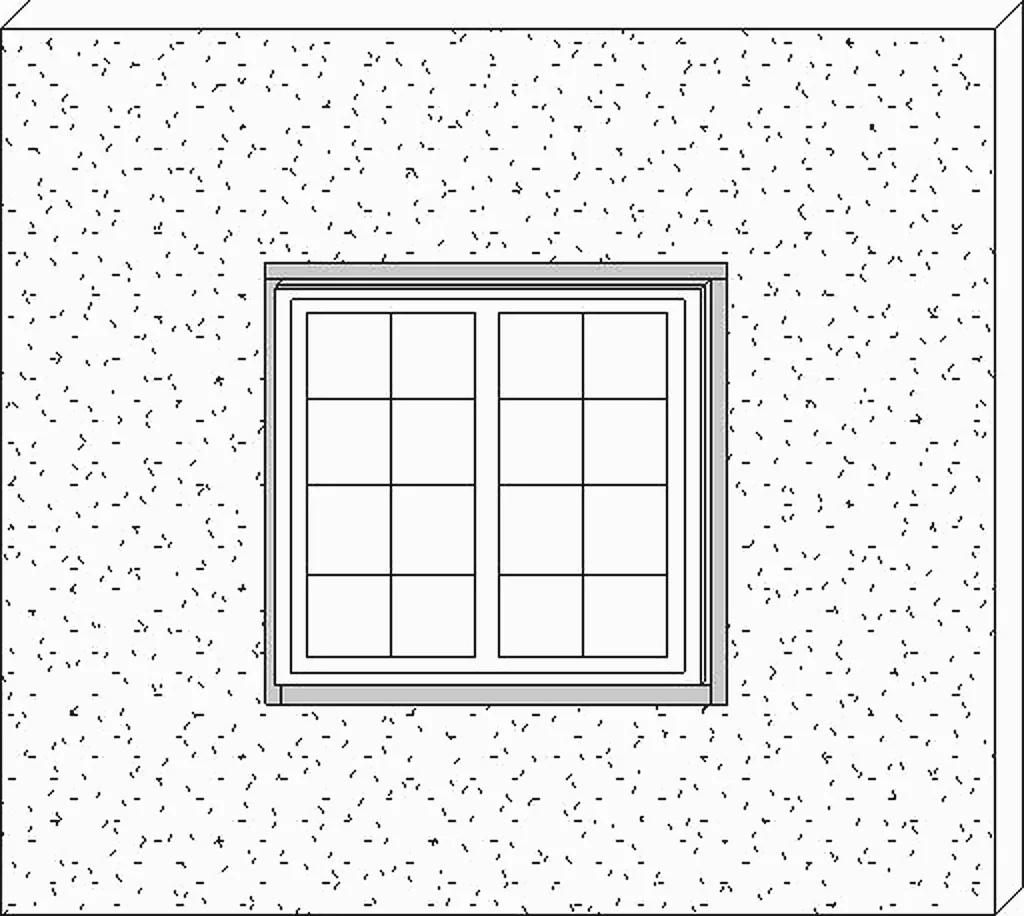
The existing siding or cladding is not shown in these drawings, to accentuate the install steps. On a real opening it stays on the wall.

-
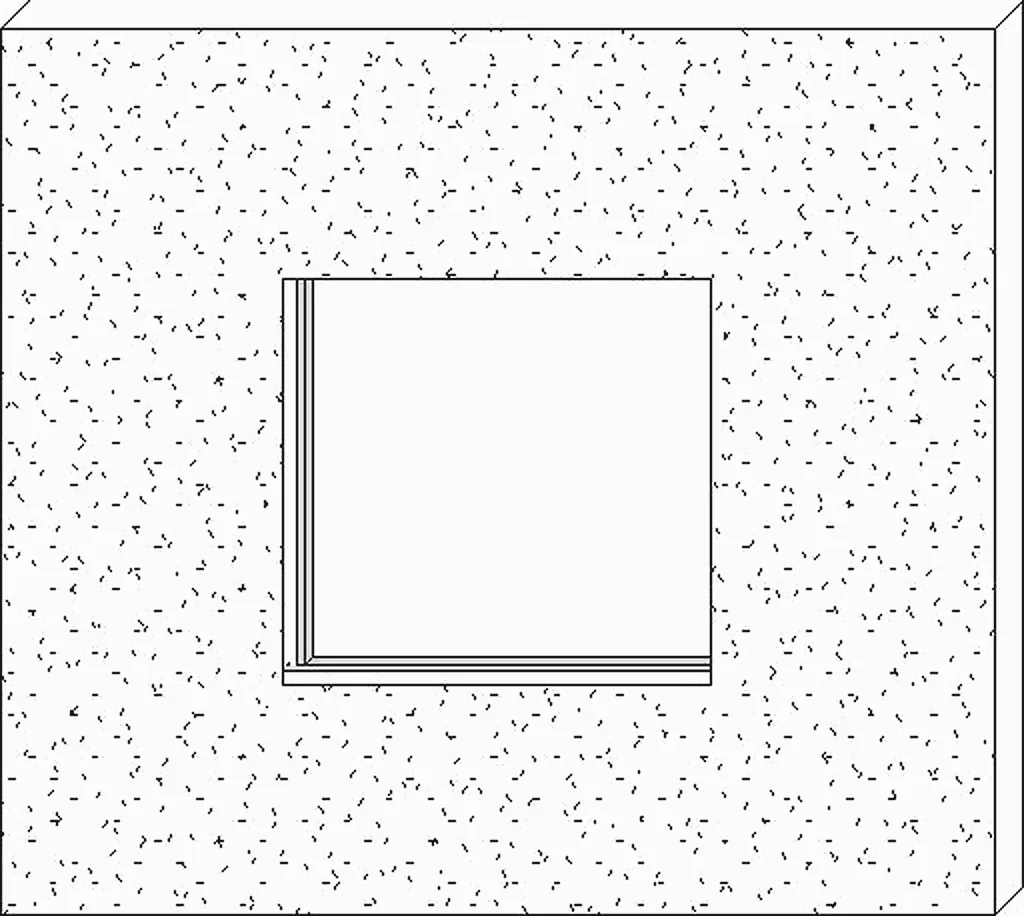
Stage 01
Remove the existing window
- 1Existing window removed
-
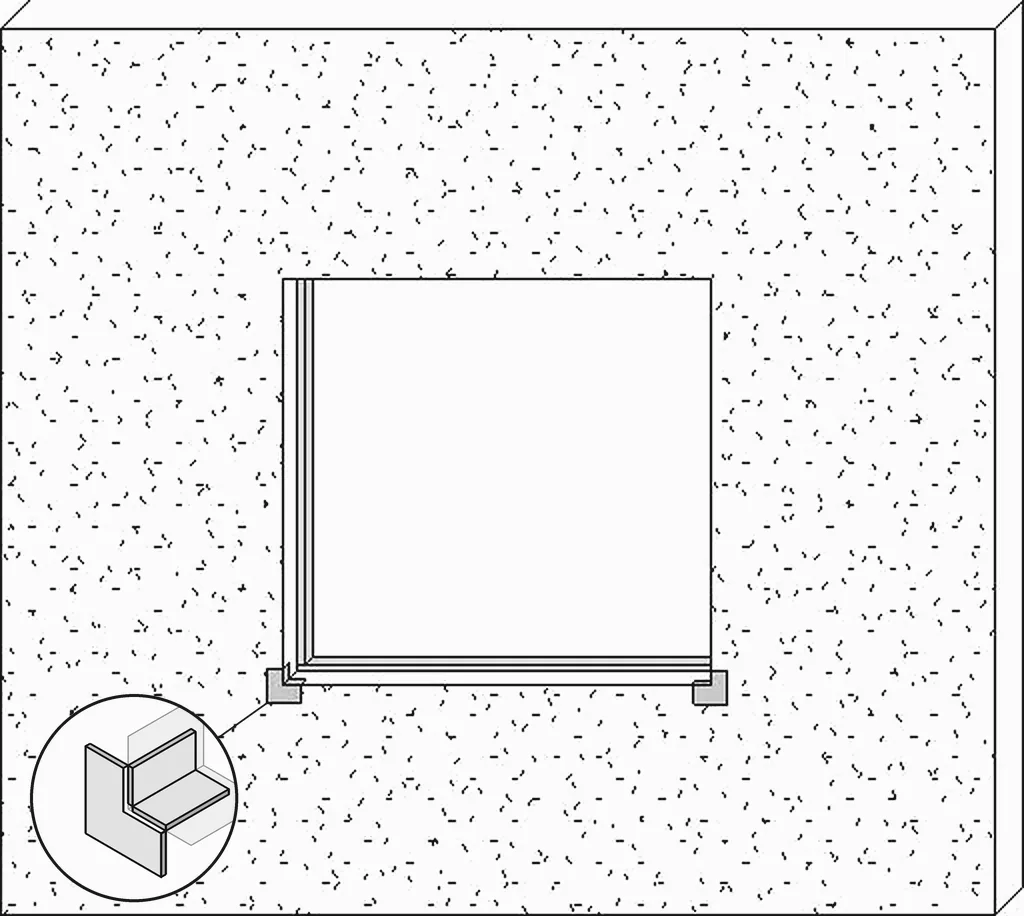
Stage 02
Corner guards
- 1Rain Jacket rigid corner guards, applied to the rough sill behind the building paper
- 2OSI Quad Max, applied as a bedding sealant to the corner guards
-
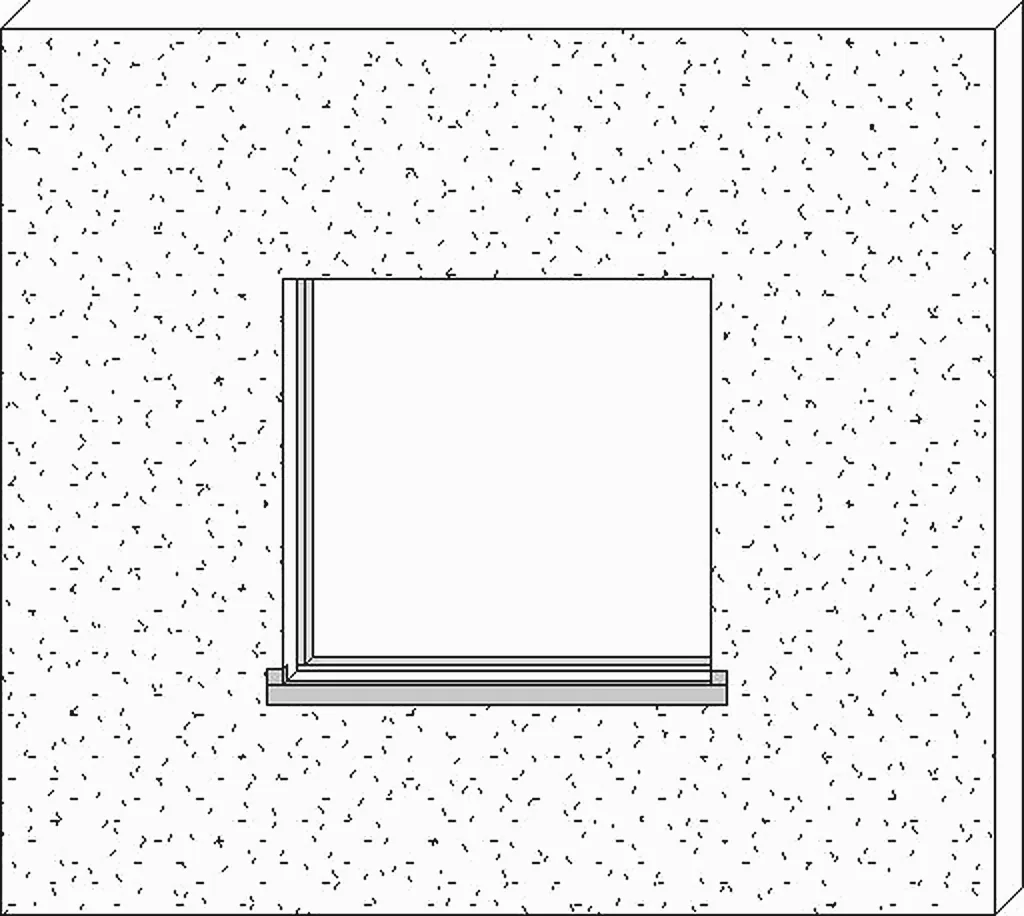
Stage 03
Sill flashing
- 1Rain Jacket rigid sill flashing, installed over the corner guards and the building paper
-
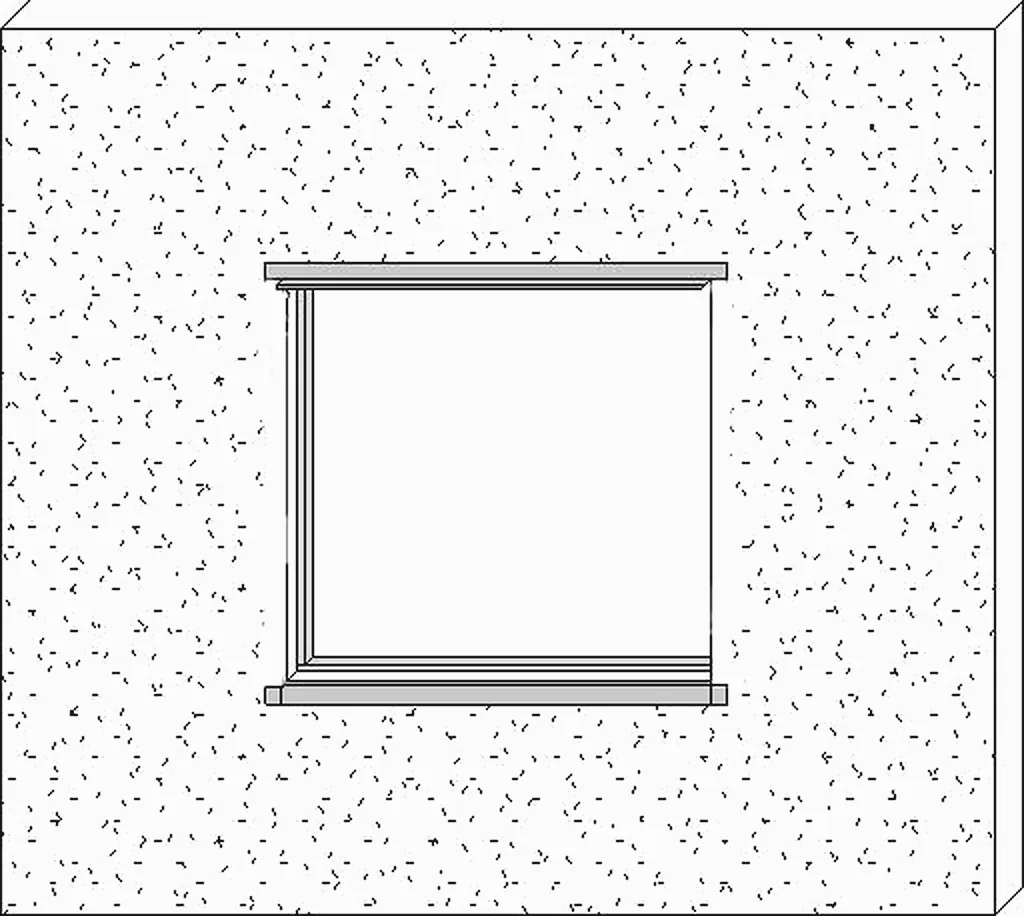
Stage 04
Head flashing
- 1Rain Jacket rigid head flashing, cut and embedded behind the existing building paper
-
Stage 05
Jamb flashing
- 1Rain Jacket rigid jamb flashing, cut and embedded behind the existing building paper
-
Stage 06
Interior L flashing
- 1Rain Jacket interior L flashing, applied against the interior liners at the sill, jambs and head
-
Stage 07
Microsealant
- 1Microsealant, applied over the exterior and interior rigid flashings
-
Stage 08
Sealant on the L angle
- 1OSI Quad Max applied to the interior L angle
-
Stage 09
Set the window
- 1Set the window into the pre-flashed opening
- 2Level, plumb, square and fasten the window to the opening
-
Stage 10
Seal the perimeter
- 1OSI Quad Max and foam, applied to the perimeter gap between the window and the siding

On site / Vinyl siding
The siding stays on the wall.
Rain Jacket integrates to the existing building paper without removing the vinyl siding. One window, start to finish, filmed from outside.
Watch the installationComponents / Installation Manual, pages 4 to 7
What each part does.
-
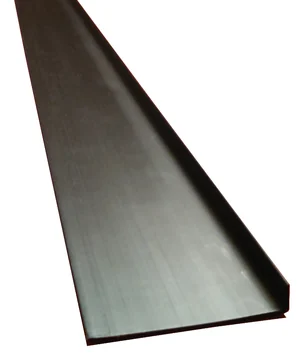
Fig. 21.2
RJ Sill Flashing
.055 PVC, 3" x 1/2"
Directs water away from the bottom of the window opening and out over the building paper, completing the layered waterfall effect of the system.
-
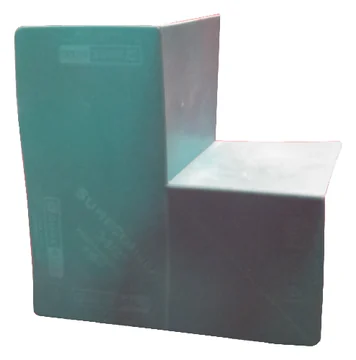
Fig. 21.3
RJ Corners
PVC, 3 1/2" x 7"
Form a continuous barrier against water penetration at the critical corner areas.
-
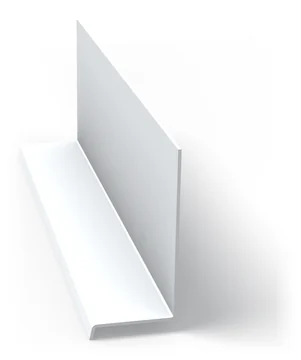
Fig. 21.4
RJ Head Flashing
.055 PVC white with receiver, 3" x 1 3/8" x 1/4"
Deflects water from the head of the window.
-
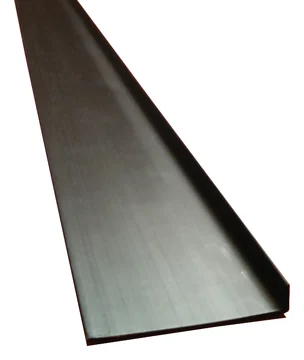
Fig. 21.5
RJ Jamb Flashing
.055 PVC, 3" x 1/2"
Directs water away from the sides of the window and integrates to the interior L angle with the microsealant.
-

Fig. 21.6
RJ Interior L Angle
.055 PVC white L angle, 3/4" x 1/2"
Creates a back pan and a bridge point for the microsealant, and helps seal the window on the inside.
-
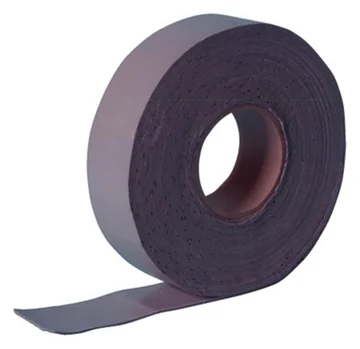
Fig. 21.7
RJ Microsealant
Micro sealant adhesive membrane, 60 mil, 50' rolls
Seals and integrates the flashing components to create a 360-degree pan.
Trade supplies, not sold here
- OSI Quad Max SealantBonds the window to the interior L flashing and creates an exterior sealant bead.
- OSI Teq FoamSeals gaps, cracks, holes and voids around windows and patio doors.
The finished assembly / Vertical and plan sections
A cutaway of the head, sill and jamb.
Swipe the drawing
- 01RJ Head Flashing
- 02RJ Microsealant tape
- 03OSI Quad Max finish sealant
- 04RJ Jamb Flashing
- 05RJ Interior L Angle
- 06OSI Quad Max, bedding sealant between window and L angle
- 07Interior finish sealant
Swipe the drawing
- 02RJ Microsealant tape
- 03OSI Quad Max finish sealant
- 04RJ Jamb Flashing
- 05RJ Interior L Angle
- 06OSI Quad Max, bedding sealant between window and L angle
- 07Interior finish sealant

Free estimate and advice on your specific project
New windows, same siding.
Send us the cladding type, the number of windows and your location, and we will give you a price. We have been in the window trade since 1992.